

Growing microgreens at home is an increasingly popular way to enjoy nutrient-dense, flavorful greens without needing a large garden or complex equipment. These tiny plants, harvested at an early stage of growth, pack a concentrated punch of vitamins, minerals, and antioxidants. In this guide, we’ll cover everything you need to know, from choosing the right seeds and supplies to managing pests and ensuring a bountiful harvest. Whether you’re a beginner or a seasoned gardener, these tips will help you enjoy fresh, homegrown microgreens all year round.
I. Understanding Microgreens
What Are Microgreens?
- Definition: Microgreens are the young seedlings of vegetables and herbs, harvested just after their first true leaves appear.
- Nutritional Benefits: They often contain higher concentrations of essential nutrients compared to their mature counterparts.
- Flavor Profiles: From spicy radish and mustard to sweet pea shoots, microgreens offer a range of tastes for salads, sandwiches, smoothies, and garnishes.
Key Terms
- Germination: The process by which seeds sprout and begin to grow roots and shoots.
- Growing Medium: The material (soil, coco coir, or other soilless mixes) in which seeds are planted.
- Tray/Container: A shallow container used for growing microgreens.
- True Leaves: The first set of leaves that develop after the seedling leaves (cotyledons).
Seed Types
-
Vegetable Seeds
- Radish: Spicy flavor, fast-growing.
- Broccoli: Mild, earthy flavor, highly nutritious.
- Kale: Slightly peppery, packed with vitamins.
-
Herb Seeds
- Basil: Aromatic, perfect as a garnish.
- Cilantro: Bold flavor, pairs well with Mexican or Asian cuisines.
- Parsley: Fresh, grassy taste.
-
Specialty Greens
- Sunflower Shoots: Crunchy texture, nutty flavor.
- Pea Shoots: Sweet, crisp, excellent for salads and stir-fries.
- Amaranth: Vibrant red color, delicate taste.
II. Essential Supplies
Growing Medium
- Soilless Mix: Usually a combination of peat moss or coco coir and perlite/vermiculite. Offers good drainage and aeration.
- Coco Coir: A sustainable, pH-neutral medium made from coconut husks, known for retaining moisture without waterlogging.
- Potting Soil: Can be used but ensure it’s sterile to minimize the risk of pests or disease.
Containers & Trays
- Shallow Plastic Trays: Common, reusable if cleaned properly.
- Biodegradable Trays: Eco-friendly, though they may degrade over multiple uses.
- Repurposed Household Items: Upcycle items like takeout containers, egg cartons, or shallow plastic boxes.
Light Source
- Natural Sunlight: A bright windowsill that gets 4–6 hours of sunlight can suffice for many microgreen varieties.
- Grow Lights: LED or fluorescent lights are ideal for consistent results, especially in colder or darker climates.
Watering Methods
- Spray Bottle: Ideal for gently misting seeds and young sprouts.
- Bottom Watering: Place trays in a shallow container of water to allow absorption from the roots up, which helps prevent mold on the surface.
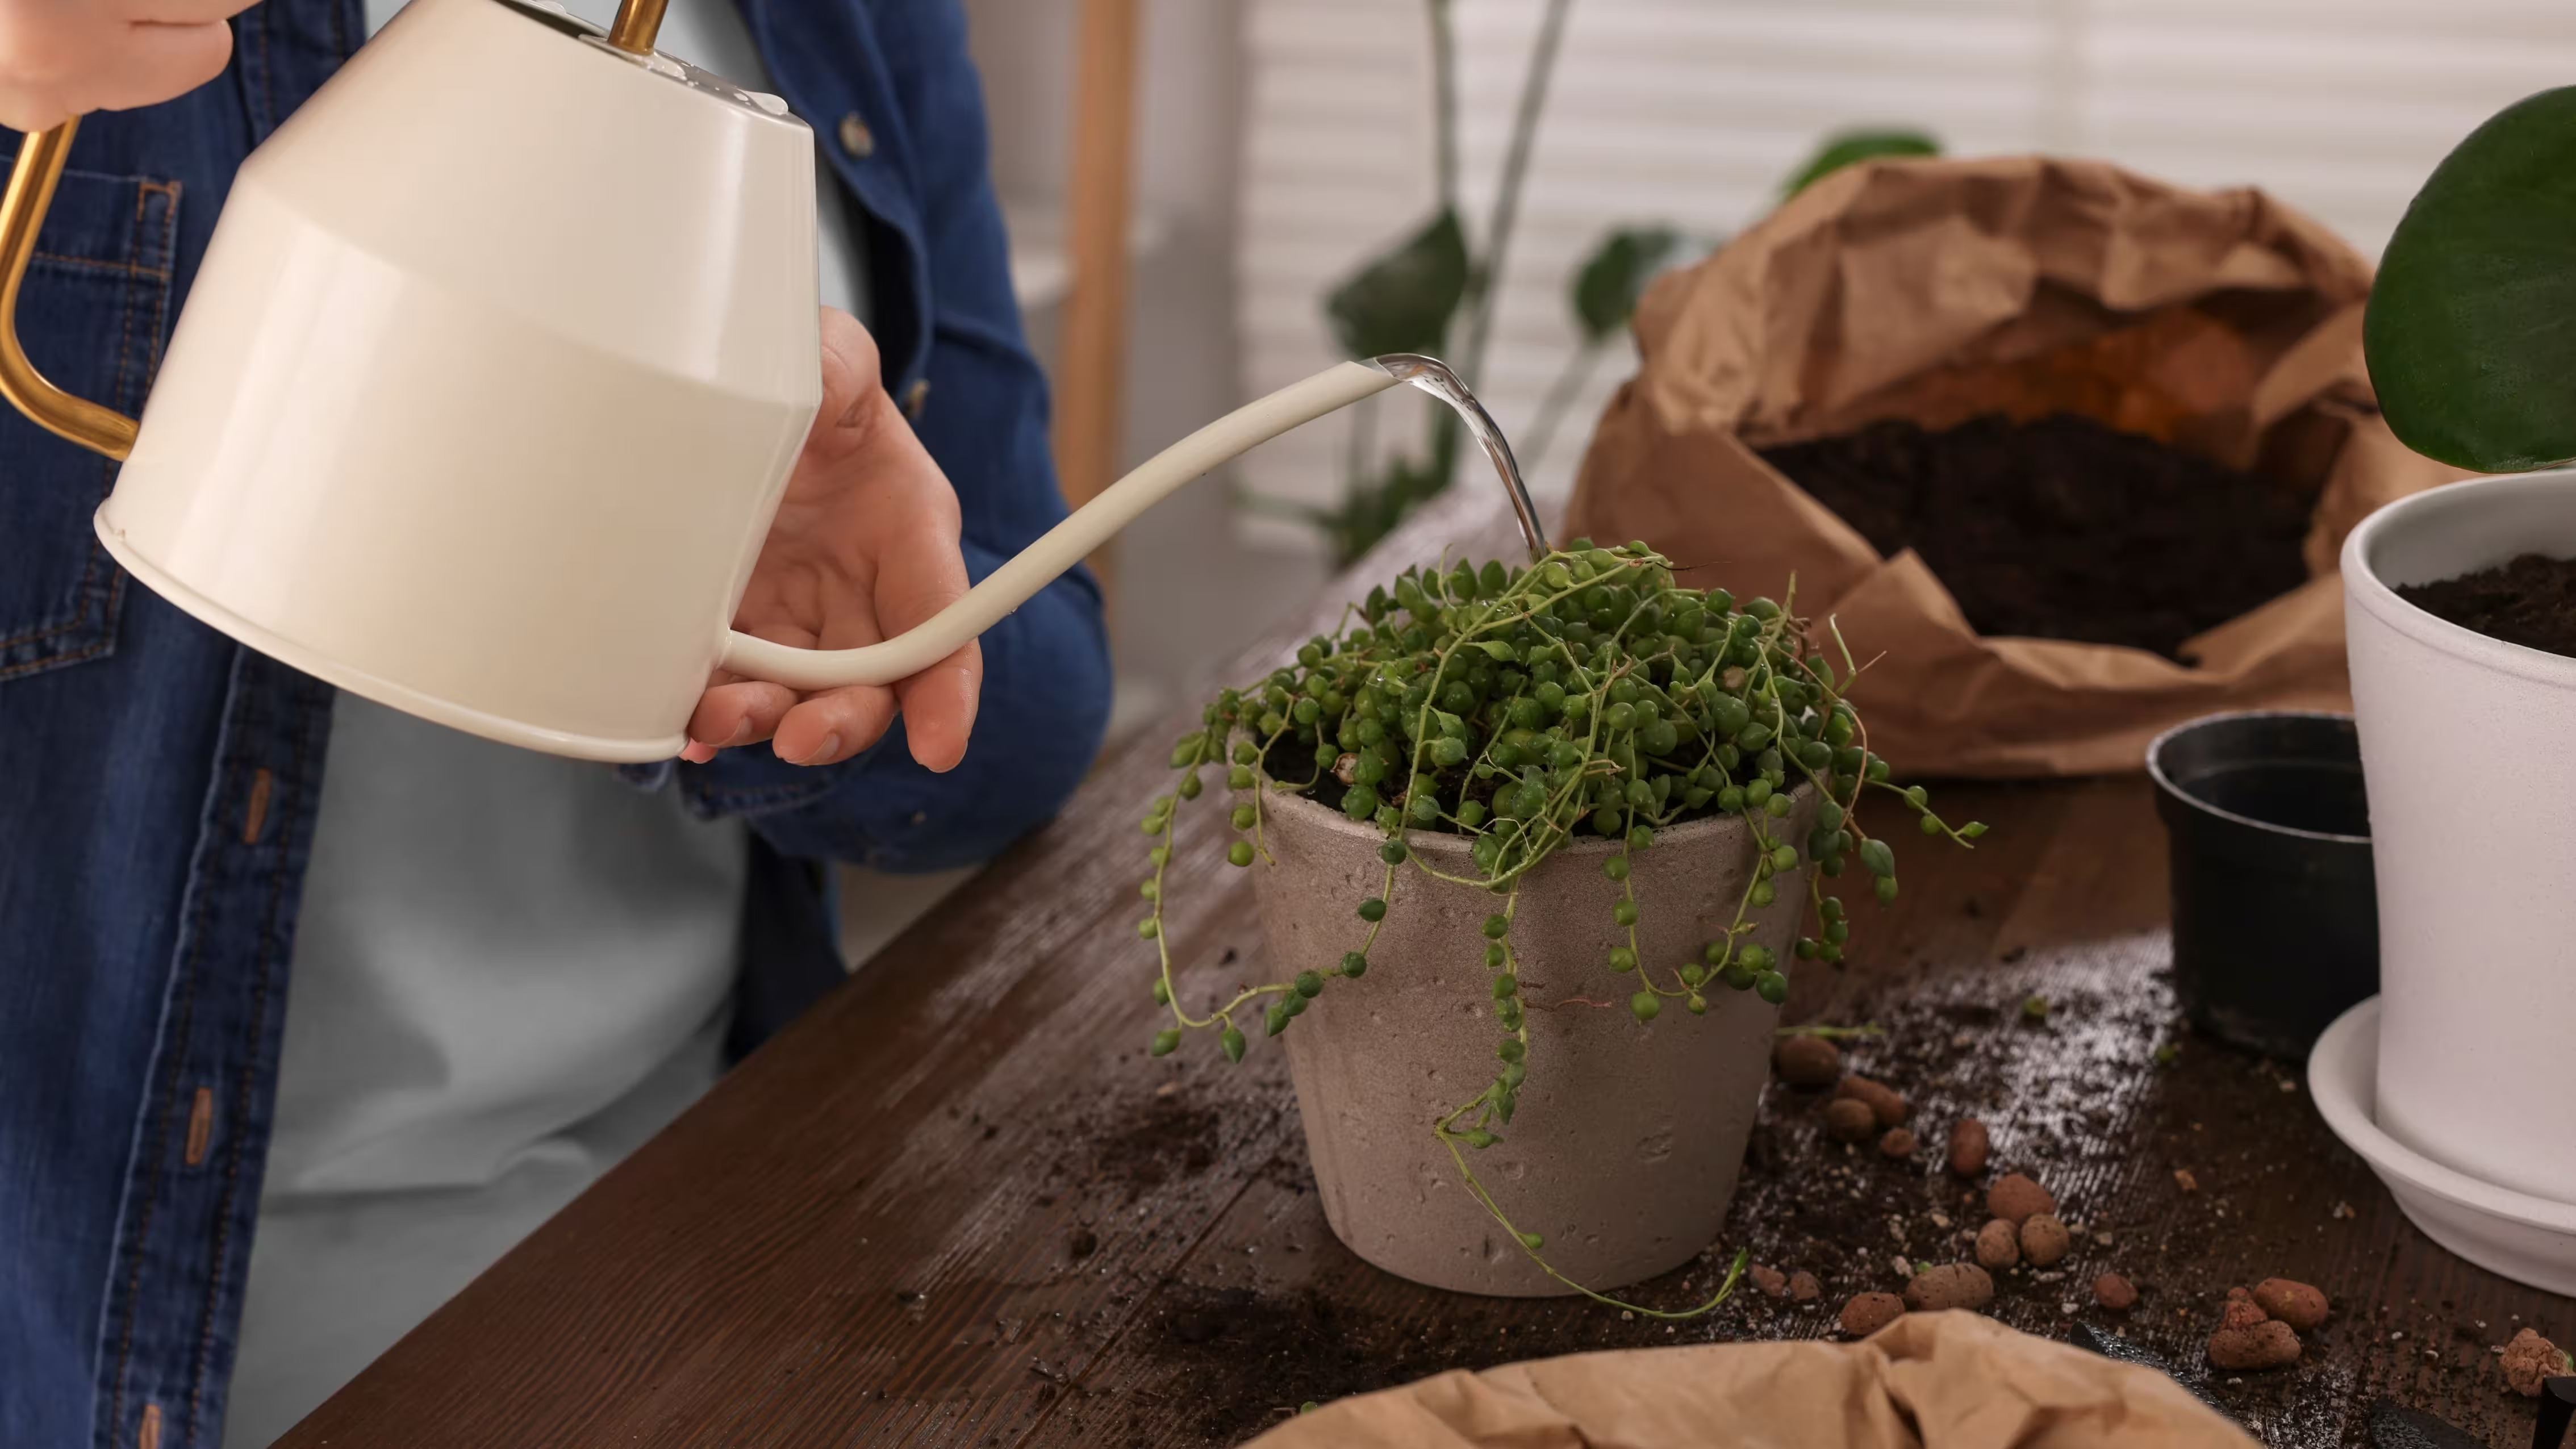
- Watering Can with a Fine Rose: For more mature seedlings, use a gentle shower setting.
Other Helpful Tools
- Humidity Dome or Plastic Wrap: Retains moisture during germination.
- pH Meter: Ensures the growing medium’s pH is within an optimal range (around 5.5–6.5).
- Thermometer/Hygrometer: Monitors temperature and humidity levels to support healthy growth.

III. Planting and Care
Step-by-Step Planting Process
-
Prepare the Tray
- Fill your container with 1–2 inches of your chosen growing medium.
- Lightly moisten the medium before sowing the seeds.
-
Sow the Seeds
- Spread seeds evenly across the surface. Overcrowding can lead to mold or weak growth, so aim for a thin, even layer.
- Gently press the seeds into the medium but do not bury them too deep, as they need light and air circulation to germinate properly.
-
Cover and Mist
- Mist the seeds using a spray bottle to keep them moist.
- Cover the tray with a humidity dome or plastic wrap, leaving a small gap for air circulation. This traps moisture and warmth for faster germination.
-
Germination Period
- Keep the tray in a warm (around 70°F / 21°C), dark place until the seeds sprout.
- Check daily to ensure the medium stays evenly moist (but not waterlogged).
-
Expose to Light
- Once you see sprouts, remove the cover and place the tray in a bright area or under a grow light.
- Continue to mist or bottom water as needed, ensuring the top layer doesn’t dry out.
Ongoing Maintenance
- Watering: Check moisture levels at least once a day. For bottom watering, lift the tray to see if it’s light (a sign the medium is dry).
- Lighting: If using artificial lights, keep them 2–4 inches above the seedlings to prevent them from becoming “leggy.”
- Ventilation: Ensure proper air circulation to reduce the risk of mold. A small fan can be beneficial if humidity is high.
IV. Harvesting and Storage
When to Harvest
- Typical Timeline: Most microgreens are ready 7–14 days after planting, just after the first true leaves develop.
- Visual Cues: Look for vibrant color, sturdy stems, and a couple of small leaves.
- Taste Test: Harvesting earlier usually gives a milder flavor; waiting a few extra days can intensify it.
How to Harvest
- Tools: Clean, sharp scissors or a kitchen knife.
- Technique: Gently hold the greens upright and snip them just above the soil line.
- Sanitation: Always sanitize your harvesting tools to prevent contamination.
Post-Harvest Handling
- Washing: Rinse microgreens under cool water to remove any debris.
- Drying: Pat them gently with a paper towel or use a salad spinner on low to remove excess moisture.
- Storage: Place in a sealed container lined with a paper towel and store in the refrigerator. Consume within a week for best taste and nutrient quality.
V. Common Problems and Solutions
Mold & Fungal Growth
- Causes: Overcrowded seeds, poor airflow, excessive moisture.
- Prevention: Provide adequate spacing, good ventilation, and avoid overwatering.
- Treatment: Remove affected areas, allow the surface to dry slightly, and improve airflow (e.g., using a small fan).
Leggy or Weak Seedlings
- Causes: Insufficient light, overcrowding, high temperatures.
- Prevention: Keep lights close to the seedlings, use a cooler environment (around 65–70°F / 18–21°C), and ensure proper spacing.
- Solution: Thin out any overly dense areas to allow each plant room to grow.
Poor Germination
- Causes: Old seeds, inadequate moisture, incorrect temperature.
- Prevention: Use fresh, high-quality seeds, maintain consistent moisture, and keep temperature around 70°F / 21°C.
- Solution: Test seed viability with a small batch before planting a large tray.
Pests
- Common Culprits: Aphids, fungus gnats, or whiteflies in some cases.
- Organic Remedies: Neem oil sprays, sticky traps, or introducing natural predators like ladybugs.
- Prevention: Inspect new seed batches or potting mixes, maintain cleanliness, and avoid overwatering.
VI. Popular Microgreen Varieties
-
Radish Microgreens
- Flavor: Spicy, peppery.
- Growth: Sprouts quickly, often within 5 days.
- Uses: Toppings for salads, sandwiches, and soups.
-
Sunflower Shoots
- Flavor: Nutty, crunchy.
- Growth: A bit slower, around 10–14 days to harvest.
- Uses: Great for snacking, salads, and adding texture to wraps.
-
Pea Shoots
- Flavor: Sweet and crisp.
- Growth: Ready within 10–14 days.
- Uses: Stir-fries, omelets, fresh salads.
-
Broccoli Microgreens
- Flavor: Mild, slightly earthy.
- Growth: Usually 7–10 days.
- Nutritional Note: High in sulforaphane, known for its potential health benefits.
-
Basil Microgreens
- Flavor: Aromatic, strong basil taste.
- Growth: 10–14 days, may require slightly more warmth.
- Uses: Perfect garnish for Italian dishes, pizzas, and pastas.
VII. Resources and Conclusion
Further Learning
- Books:
- Microgreens: A Guide to Growing Nutrient-Packed Greens by Eric Franks and Jasmine Richardson
- Year-Round Indoor Salad Gardening by Peter Burke
- Websites & Blogs:
- Gardening forums (e.g., GardenWeb) for tips and community support
- Specialized microgreen websites for seed sourcing and growing advice
- Online Courses:
- Check platforms like Udemy or Skillshare for step-by-step video tutorials.
For broader horticultural advice and educational programs, see the American Horticultural Society Educational Resources
Conclusion
Growing microgreens at home is a simple, cost-effective way to introduce fresh, flavorful greens into your diet. They require minimal space, time, and resources, making them accessible to everyone—from novice gardeners in small apartments to experienced farmers expanding their indoor crops. By following the steps outlined in this guide, you’ll be well on your way to enjoying vibrant microgreens packed with nutrition and taste. Experiment with different seeds, try various growing mediums, and savor the satisfaction of harvesting your own healthy microgreens right from your windowsill or kitchen counter.
Follow Pisi Up for more details content.